TOPIARY
3-4 foam pumpkins.
Black lace in different patterns 1/2 yd. for each pumpkin
Glue, needle and thread
Urn you have lying around your house.
1/4 " dowel
cream colored craft paint
For the topiary, paint some off white. I pulled off the stem and vines of all the pumpkins, except the top one. Fill the hole with hot glue (sawdust spills out)
Cover pumpkins tightly with lace and stitch bottom or glue and trim excess. Cut a small hole in the lace for the top pumpkin's stem and vine to poke out.
I was looking for a dot patterned lace, and being impatient and not finding one, I just inserted upholstery tacks around the pumpkin and then covered it with a double layer of black tulle yardage.
Insert dowel in the bottom two and stack in a urn large enough to hold them. Trim stick if needed and insert in the bottom of the top pumpkin. I'm in love with these.
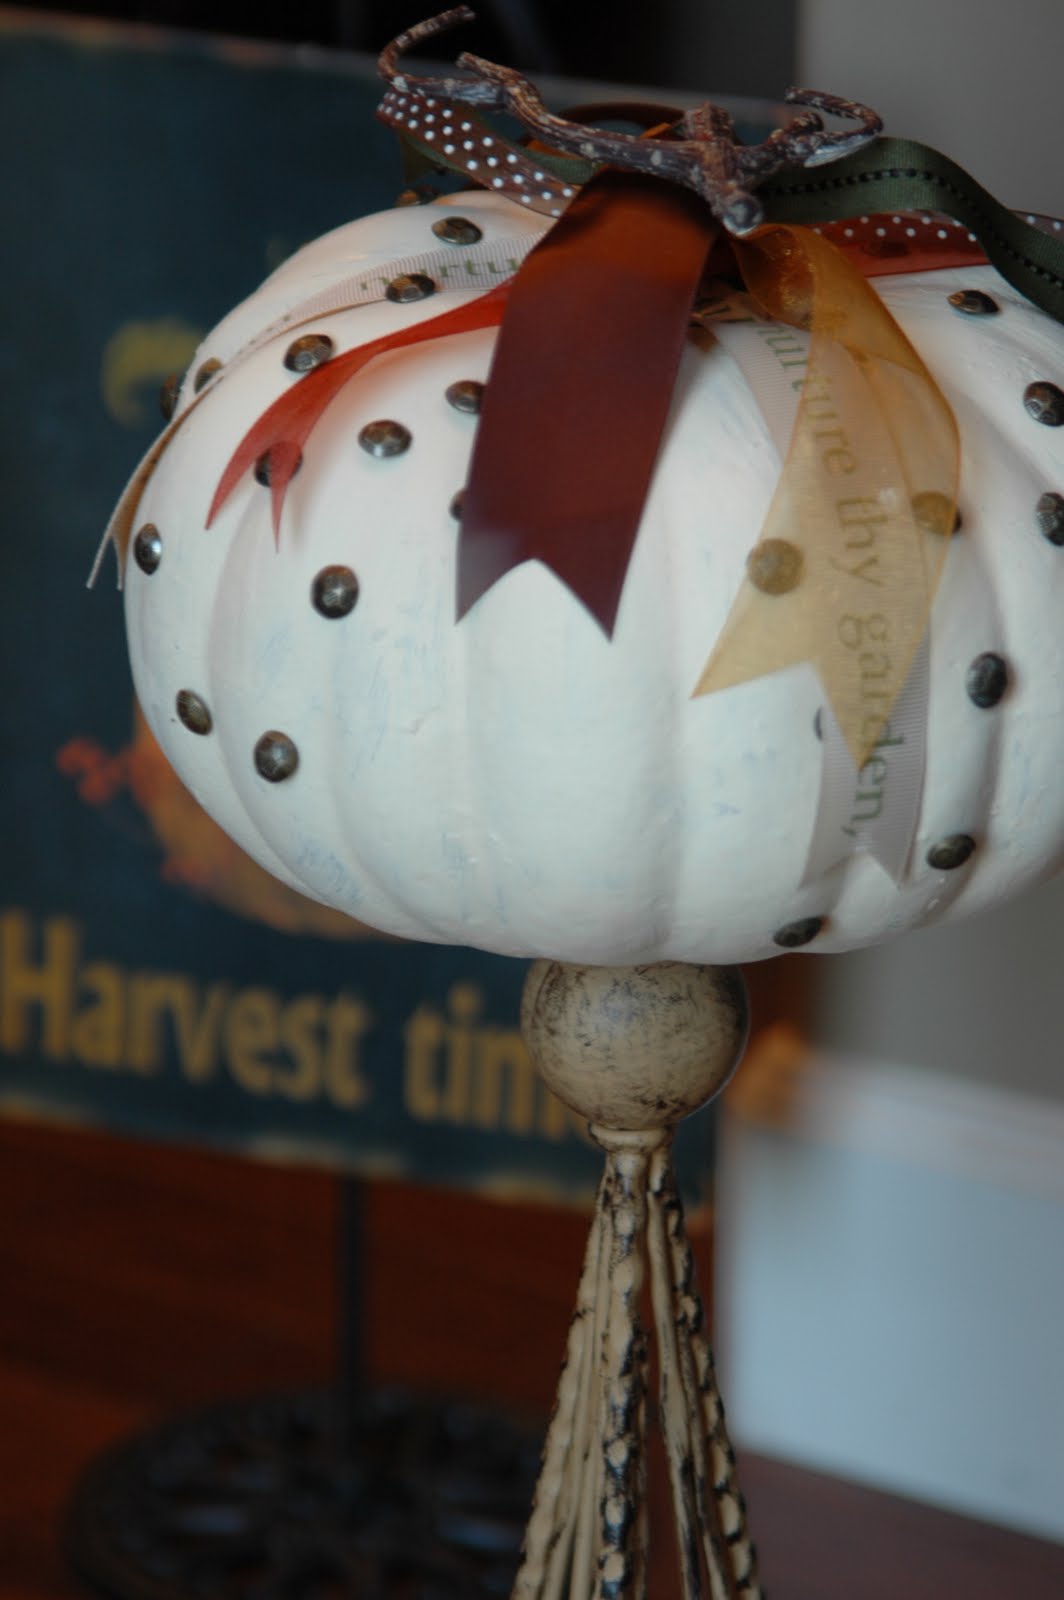
 PAINTED PUMPKIN
Using the craft foam pumpkins, paint off white and let dry.
Stud pumpkin with upholstery nails randomly or in swirls etc..
Tie off the stem lots of fun ribbons.
METALLIC PUMPKIN
 1 foam craft pumpkin
Silver paint
craft sealer top coat spray paint
Paint and let dry. Spray with a sealer. Top with ribbons and stack in a basket or on top of a candlestick etc..


Super cute and very elegant!
ReplyDeleteSo cute - you did a great job and very creative idea! Hopefully I will have more time next year to make some!
ReplyDelete